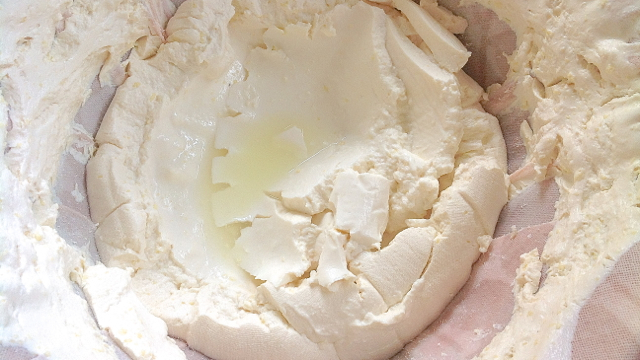
How to make homemade Buttermilk Cheese
This cheese is a fat free version of the yogurt cheese. You can use it in the same way and is great in both savory and sweet dishes.
- homemade buttermilk
- large colander
- large bowl to hold the colander
- cheese cloth
First you will need to prepare “Homemade Buttermilk”. Click here to learn.

Next you will need to let it sit out, covered, until it begins to coagulate.

It took about 8 hours for the coagulation to begin. If it is cooler where you live it may take longer. Here is what it should look like.

Here is a closer look.

Now put together the draining containers. I used a large colander, a large bowl to go underneath the colander to hold it, and also a cheesecloth laid over the colander.

The bowl on the bottom is used to hold the whey that is going to drain out of the buttermilk.

Next, pour the buttermilk onto the cheesecloth and colander.

Immediately the whey will begin to drain out.

Now cover the buttermilk with a lid. You can either leave the buttermilk on the counter to drain or put in the refrigerator. It may get a little more sour if you leave it out, but if you like that, then do as you wish.

Here is what it looks like the next day. You should have a nice thick cream cheese.

The cheese is so thick that it should stick to the spoon even when turned sideways.

That’s it! Now you are ready to use it in many dessert and entree recipes you find on this website.

